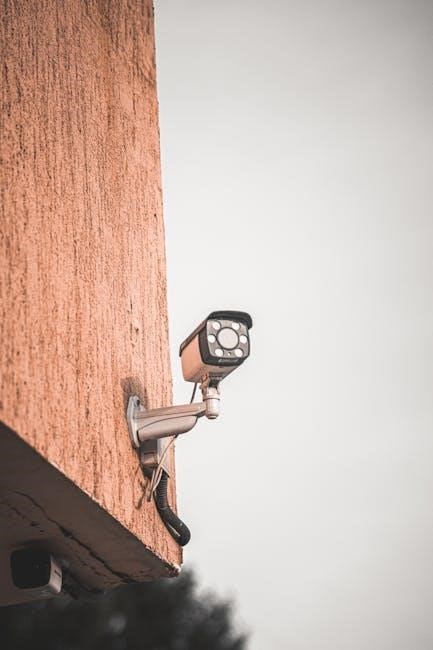
Light bulb security cameras offer a discreet and simple way to enhance home surveillance․ These innovative devices seamlessly blend into existing light fixtures, providing
unobtrusive monitoring without complex installations or visible wiring․ They represent a convenient solution for homeowners seeking enhanced security․
Modern models often require only screwing the bulb into a standard socket and connecting via a mobile app, making setup remarkably straightforward for all users․
What are Light Bulb Security Cameras?
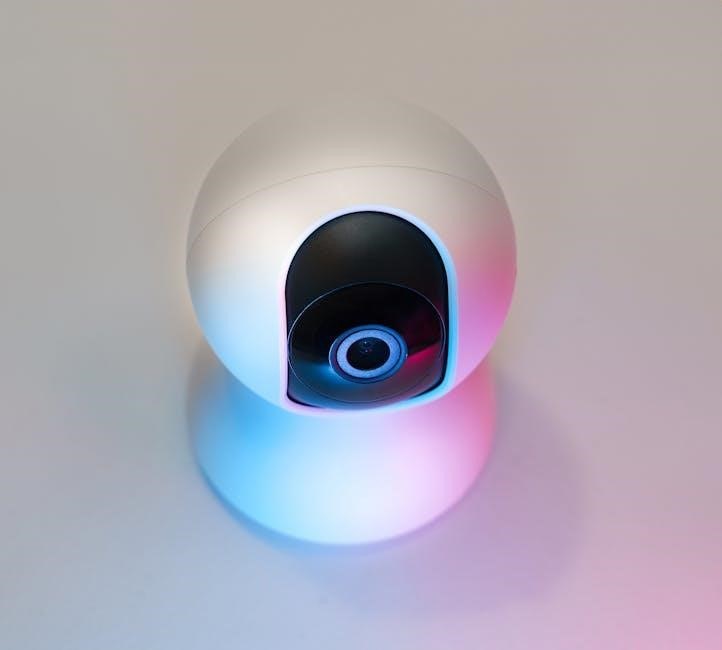
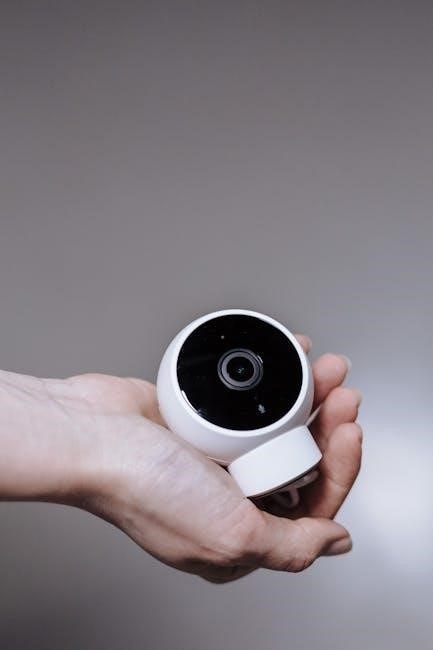
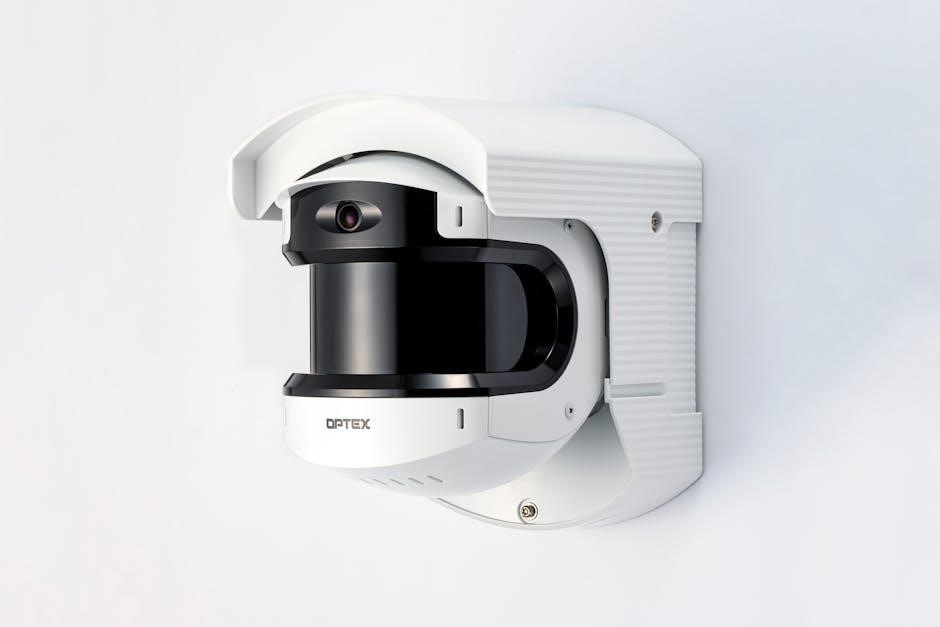
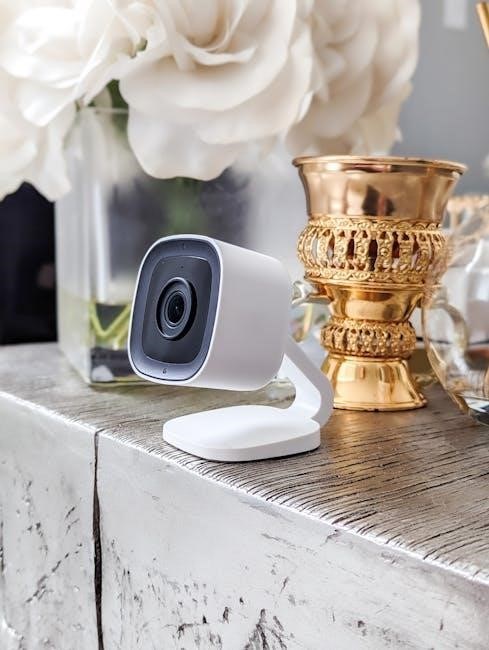
Light bulb security cameras are cleverly disguised surveillance devices that resemble standard LED light bulbs․ However, integrated within their form factor is a fully functional security camera, capable of recording video and transmitting it to a connected smartphone or cloud storage․
Unlike traditional security cameras requiring complex mounting and wiring, these bulbs simply screw into existing light sockets․ This ease of installation is a major draw for users․ They typically connect to a home’s Wi-Fi network, enabling remote viewing and control through a dedicated mobile application – like the ‘V380’ or ‘Wheel Lot’ apps mentioned in user guides․
Many models, such as the ‘LaView L2’ and ‘Sight Bulb’ cameras, boast features like motion detection, night vision, and two-way audio, offering comprehensive security in a compact package․ They are designed for quick deployment and minimal disruption․
Benefits of Using Light Bulb Security Cameras
Light bulb security cameras offer numerous advantages over traditional security systems․ Their primary benefit lies in their discreetness; blending seamlessly into existing fixtures, they are less noticeable to potential intruders․ Installation is remarkably simple – just screw in the bulb and power it on, as highlighted in several user manuals․
These cameras eliminate the need for complex wiring or professional installation, saving both time and money․ Remote monitoring via smartphone apps, like those mentioned in YouTube guides, provides convenient access to live feeds and recorded footage․ Features like motion detection and night vision enhance their effectiveness․
Furthermore, they are cost-effective, offering a robust security solution at a lower price point than many conventional systems․ They are ideal for monitoring entryways, hallways, or any area needing surveillance without drawing attention․
Installation Process
Installing a light bulb camera typically involves turning off the power, screwing in the bulb, and restoring power – a straightforward process detailed in user guides․
Step 1: Preparing for Installation
Before beginning, ensure the light fixture you intend to use is compatible and can support the weight of the camera bulb․ Crucially, turn off the power to the selected light switch; this is a vital safety precaution to prevent electrical shock during installation․
Double-check that your Wi-Fi network is stable and accessible in the installation location, as a strong connection is essential for camera functionality․ Download the necessary mobile application – often specified in the camera’s user manual – onto your smartphone or tablet․
Familiarize yourself with the app’s interface and account creation process․ Having everything prepared beforehand will streamline the installation and configuration stages, ensuring a smoother and more efficient setup experience․
Step 2: Physically Installing the Bulb Camera
With the power safely switched off, carefully twist the light bulb security camera into the designated light socket, just as you would install a standard light bulb․ Ensure it’s securely fastened to prevent accidental dislodging․ Avoid over-tightening, which could damage the socket or the camera itself․
Some models may include a specific bulb base; if so, connect the camera to this base before inserting it into the socket, as per the LaView L2 instructions․ Once physically installed, restore power to the light switch․ Observe the camera’s indicator light; it should illuminate, signaling that the device is receiving power and is ready for pairing․
Allow a brief moment for the camera to initialize before proceeding to the software setup phase․
Step 3: Powering On the Camera
After physically installing the bulb camera and restoring power via the light switch, observe the device for signs of activation․ Typically, an indicator light will illuminate, signifying the camera is receiving power and preparing for setup․ The V380 Bulb Camera Manual highlights waiting for this indicator to signal readiness for pairing․
The initial power-on sequence may take a short period – usually a minute or less – as the camera completes its internal checks and prepares to connect to your Wi-Fi network․ Ensure the light switch remains on during this process․
If the indicator light doesn’t appear, double-check the bulb is securely screwed in and the power switch is fully engaged․

Software Setup & Configuration
Successful operation relies on downloading the manufacturer’s mobile app, like the “Wheel Lot” app for Yi Iot cameras, to control settings and view live feeds effectively․
Downloading the Required Mobile App
The initial step in configuring your light bulb security camera involves downloading the dedicated mobile application provided by the camera’s manufacturer․ This app serves as the central hub for controlling the camera, viewing live footage, accessing recorded videos, and customizing various settings․

For example, Yi Iot cameras necessitate downloading the “Wheel Lot” app, while other brands like LaView and Sight Bulb will have their own specific applications available on both the Apple App Store (for iOS devices) and the Google Play Store (for Android devices)․
Carefully search for the correct app name to avoid downloading imitations or malicious software; Once located, tap the “Install” button and allow the app to download and install on your smartphone or tablet․ After installation, locate the app icon on your home screen and prepare to proceed with account creation and camera connection․
Creating an Account and Initial Login
After successfully installing the mobile app, the next crucial step is creating a user account․ Launch the app, and you’ll typically be presented with options to “Sign Up” or “Register․” Tap this option to begin the account creation process․
You will generally be required to provide a valid email address and create a strong, secure password․ Some apps may also request your phone number for verification purposes․ Carefully read and agree to the terms of service and privacy policy before proceeding․
Once you’ve submitted the required information, you may receive a verification email or SMS code․ Enter this code into the app to activate your account․ Finally, use your newly created credentials to log in to the app and prepare for camera setup․
Connecting the Camera to Your Wi-Fi Network
With your account created and the camera powered on, the app will guide you through connecting it to your home Wi-Fi network․ Ensure your smartphone is connected to the 2․4 GHz Wi-Fi band, as many bulb cameras don’t support 5 GHz․
The app will likely prompt you to select your Wi-Fi network from a list of available networks and enter your password․ Some cameras utilize a QR code displayed on your phone screen, which you must position in front of the camera lens for pairing․
Allow the app to search for and connect to the camera․ This process may take a few minutes․ Once connected, the app will confirm successful pairing, and the camera will be ready for configuration․
Troubleshooting Wi-Fi Connection Issues
If the camera fails to connect to your Wi-Fi, first verify you’ve entered the correct password․ Double-check for typos and ensure Caps Lock is off․ Confirm your smartphone is connected to the 2․4 GHz Wi-Fi network, as this is often a requirement․
Restart both your Wi-Fi router and the camera by briefly turning off the light switch powering the bulb․ Ensure the camera is within range of your router; excessive distance can cause connectivity problems․ Temporarily disable any firewall settings on your router that might be blocking the camera’s connection․
If problems persist, try resetting the camera to its factory defaults (consult the manual for instructions) and repeating the connection process․ Contact the manufacturer’s support for further assistance․
Camera Features & Settings
Explore customizable settings within the mobile app, including motion detection sensitivity, night vision modes, two-way audio controls, and recording preferences for optimal performance․
Adjust video resolution to balance clarity and storage needs, tailoring the camera to your specific security requirements․
Motion Detection Configuration
Configuring motion detection is crucial for effective security․ Within the associated mobile application, users can typically adjust the sensitivity levels to minimize false alarms triggered by pets or ambient movements․
Activity zones allow you to designate specific areas within the camera’s field of view for monitoring, ignoring motion outside these zones․ This feature is invaluable for focusing on critical areas like doorways or windows․
Customizable alerts enable you to receive instant notifications on your smartphone whenever motion is detected, allowing for immediate response․ Some systems offer scheduling options, enabling motion detection only during specific times, such as when you are away from home․ Fine-tuning these settings ensures reliable and relevant security alerts․
Night Vision Settings
Night vision capabilities are essential for 24/7 surveillance․ Most light bulb cameras utilize infrared (IR) LEDs to illuminate the surroundings in low-light or complete darkness, providing clear visibility․
Within the mobile app, users can often adjust the night vision mode – typically offering options like auto, on, or off․ ‘Auto’ mode intelligently switches between day and night vision based on ambient light levels․
IR intensity can sometimes be adjusted to optimize image clarity and range․ Higher intensity provides greater visibility but may result in a black and white image․ Experimenting with these settings ensures optimal performance in various lighting conditions․ Some cameras also feature color night vision, offering full-color images in low light, though this often requires more ambient light․
Two-Way Audio Setup
Two-way audio allows for remote communication through the camera, enhancing its functionality beyond simple surveillance․ This feature enables you to speak to individuals near the camera and hear their responses in real-time․
To activate two-way audio, access the camera’s settings within the mobile app․ Ensure microphone permissions are granted to the app on your smartphone․ A microphone icon will typically appear on the live view screen when the feature is enabled․
Adjust the speaker volume within the app to achieve a clear audio level․ Test the functionality by speaking into your phone and verifying that the sound is audible through the camera․ Some cameras offer noise cancellation features to improve audio clarity․ This feature is useful for reducing background noise during conversations․
Recording Options: Local vs․ Cloud Storage
Light bulb security cameras generally offer two primary recording options: local storage and cloud storage․ Local storage typically involves a microSD card inserted into the camera itself, providing a cost-effective solution with no recurring fees․ However, it requires physical access to the camera to retrieve footage and is vulnerable to damage or theft․
Cloud storage involves uploading recordings to a remote server, offering accessibility from anywhere and enhanced security․ This usually requires a subscription fee, varying based on storage capacity and retention period․
Many cameras support both options, allowing users to choose the best fit for their needs․ Consider factors like budget, storage requirements, and desired accessibility when selecting a recording method․
Adjusting Video Quality and Resolution
Light bulb security cameras allow users to customize video quality and resolution through their associated mobile applications․ Higher resolutions, such as 1080p or even 2K, provide clearer and more detailed footage, crucial for identifying individuals or objects․ However, higher resolutions consume more bandwidth and storage space․
Most apps offer adjustable settings, allowing you to balance image quality with storage and network constraints․ Lowering the resolution can extend recording times and reduce data usage․
Additionally, some cameras offer settings to adjust brightness, contrast, and saturation, optimizing video clarity for various lighting conditions․ Experiment with these settings to achieve the best possible image quality for your specific environment․
Advanced Settings & Customization
Advanced settings unlock personalized control, enabling activity zone setup, scheduled recordings, and shared access for family members via the camera’s mobile application․
These features enhance security and tailor the camera’s operation to individual needs and preferences․
Setting Up Activity Zones
Activity zones allow you to designate specific areas within the camera’s field of view for prioritized motion detection․ This feature minimizes false alerts triggered by irrelevant movements, such as passing cars or swaying trees․
Within the associated mobile app, users can typically draw custom zones directly onto the live camera feed, defining the areas where motion will be actively monitored․ Adjusting the sensitivity within each zone is also often possible, allowing for fine-tuning based on the environment․
For example, you might create a zone covering a doorway or window, while excluding a busy sidewalk․ This focused approach ensures you receive notifications only when motion occurs in areas of genuine concern, improving the overall effectiveness of your security system and reducing alert fatigue․
Scheduling Recording Times
Scheduling recording times provides control over when your light bulb camera actively records footage, optimizing storage and privacy․ Most apps allow users to set specific time slots for continuous recording, or to enable recording only during certain hours of the day․
You can create customized schedules tailored to your routine, such as recording only when you are away from home or during nighttime hours․ This feature is particularly useful for conserving cloud storage space or local SD card capacity․
Furthermore, some cameras offer the ability to set different schedules for each day of the week, providing maximum flexibility․ By strategically scheduling recording times, you can ensure comprehensive surveillance while minimizing unnecessary data collection․
Sharing Access with Family Members
Sharing access with family members allows multiple users to view the live feed and recorded footage from your light bulb camera․ Most camera apps offer a sharing feature, enabling you to invite others to join your account with varying permission levels․
Typically, you can grant family members full access, allowing them to view live streams, playback recordings, and adjust camera settings․ Alternatively, you can restrict access to view-only mode, preventing them from making changes to the camera’s configuration․
This feature enhances collaborative security, ensuring everyone in the household can stay informed and contribute to home monitoring․ Securely sharing access promotes peace of mind and a collective sense of safety․

Security Considerations
Prioritize strong passwords for both your camera and Wi-Fi network to prevent unauthorized access․ Regularly update firmware and be mindful of data privacy settings․
Password Security Best Practices
Creating a robust password is paramount for securing your light bulb camera and protecting your privacy․ Avoid easily guessable information like birthdays, pet names, or common words․ Opt for a complex combination of uppercase and lowercase letters, numbers, and symbols․
Enable two-factor authentication (2FA) whenever available within the camera’s app․ This adds an extra layer of security, requiring a code from your phone in addition to your password․
Regularly update your password – at least every three to six months – to minimize the risk of compromise․ Avoid reusing passwords across multiple accounts․ Consider using a password manager to generate and securely store unique, strong passwords for each of your devices and online services․
Be cautious of phishing attempts․ Never click on suspicious links or provide your password in response to unsolicited emails or messages․
Protecting Your Wi-Fi Network
Securing your home Wi-Fi network is crucial, as your light bulb camera relies on it for operation and data transmission․ Utilize a strong, unique password for your Wi-Fi network, avoiding default credentials․ Enable WPA3 encryption, the latest and most secure Wi-Fi security protocol, if your router supports it․
Regularly update your router’s firmware to patch security vulnerabilities․ Consider enabling the router’s firewall and disabling features like WPS (Wi-Fi Protected Setup), which can be exploited by hackers․
Create a guest network for visitors and IoT devices like your light bulb camera․ This isolates them from your primary network, limiting potential damage if compromised․ Monitor connected devices regularly to identify any unauthorized access․
Be mindful of public Wi-Fi; avoid connecting your camera directly to unsecured public networks․
Understanding Data Privacy
Light bulb security cameras collect and transmit video and audio data, raising important privacy considerations․ Review the manufacturer’s privacy policy to understand how your data is stored, used, and protected․ Be aware that recordings may be stored locally on an SD card or in the cloud, each with different security implications․
Enable two-factor authentication on your camera account for an extra layer of security․ Limit access to the camera’s feed and settings to authorized users only․ Regularly review your camera’s activity logs to detect any suspicious behavior․
Consider the placement of your camera to avoid recording areas where privacy is expected, such as bedrooms or bathrooms․ Be transparent with household members and guests about the presence of the camera․
Troubleshooting Common Issues
Common problems include Wi-Fi connectivity, poor video quality, and motion detection failures․ Restarting the camera and router often resolves connectivity issues, while adjusting settings improves video clarity․
Ensure proper placement and sensitivity settings for reliable motion detection․
Camera Not Connecting to Wi-Fi
If your light bulb camera fails to connect to Wi-Fi, several troubleshooting steps can be taken․ First, ensure the light switch is turned on, providing consistent power to the device․ Double-check that you’re entering the correct Wi-Fi password within the mobile app during setup – capitalization matters!
Next, verify your router is broadcasting on the 2․4 GHz band, as many bulb cameras don’t support 5 GHz networks․ Move the camera closer to the router to rule out range issues․ Restart both the camera (by briefly toggling the power switch) and your router․
Confirm your router isn’t blocking the camera’s MAC address․ Finally, if problems persist, consult the camera’s user manual or manufacturer’s support for specific guidance and potential firmware updates․
Poor Video Quality
Experiencing blurry or pixelated video from your light bulb camera? Several factors can contribute to this issue․ First, adjust the video quality and resolution within the camera’s settings in the mobile app – higher settings demand more bandwidth․ Ensure your Wi-Fi signal strength is robust near the camera; weak signals degrade video transmission․
Clean the camera lens with a soft, dry cloth to remove any dust or smudges obstructing the view․ Check for obstructions like glare from direct light sources․ If using cloud storage, verify your internet upload speed is sufficient for clear streaming․
Finally, some cameras offer adjustable brightness or contrast settings; experiment with these to optimize the image․ A firmware update might also improve video processing․
Motion Detection Not Working
If your light bulb camera isn’t detecting motion, begin by verifying that motion detection is enabled within the app’s settings․ Configure the sensitivity level – a lower setting might miss subtle movements, while a higher setting could trigger false alarms․ Ensure the camera’s view isn’t obstructed by objects that might block movement․
Set up activity zones to focus detection on specific areas, reducing irrelevant notifications․ Check the camera’s power supply; inconsistent power can affect functionality․ Review the recording schedule to confirm motion detection is active during the desired times․
A firmware update could resolve software glitches impacting motion detection․ Finally, test the camera’s functionality by intentionally triggering motion within its field of view․
Maintenance and Care
Regularly clean the camera lens with a soft cloth to maintain optimal video clarity․ Keep the firmware updated through the app for security and performance enhancements․
Cleaning the Camera Lens
Maintaining a clear view is crucial for effective surveillance, and the camera lens is prone to dust, smudges, and debris accumulation․ To clean the lens effectively, always ensure the camera is powered off before beginning; Use a soft, lint-free microfiber cloth – the type commonly used for cleaning eyeglasses or camera lenses – to gently wipe the surface․
Avoid using harsh chemicals, abrasive cleaners, or paper towels, as these can scratch or damage the lens coating․ If necessary, lightly dampen the microfiber cloth with distilled water, but ensure it’s not overly wet․ Gently wipe in a circular motion, removing any visible dirt or smudges․ Allow the lens to air dry completely before powering the camera back on․ Regular cleaning, ideally every few weeks, will ensure optimal video quality and performance․
Firmware Updates
Keeping your light bulb camera’s firmware up-to-date is essential for maintaining optimal performance, security, and access to the latest features․ Manufacturers regularly release firmware updates to address security vulnerabilities, improve stability, and enhance functionality․ Check for updates through the camera’s mobile app; typically, a notification will appear when a new version is available․
Follow the on-screen instructions carefully during the update process, and avoid interrupting the update as this could potentially damage the camera․ Ensure the camera remains powered on and connected to a stable Wi-Fi network throughout the entire process․ Updates are usually automatic, but manual checks are recommended․ Regularly updating the firmware safeguards your camera against potential threats and ensures a smooth user experience․