
Welcome! This manual guides you through the delightful experience of using your Nostalgia popcorn maker, a stylish appliance bringing retro fun to every batch.
Unboxing and Component Check
Carefully unpack your Nostalgia Popcorn Maker and verify all components are present. You should find the main popcorn cart unit, a popping kettle, a clear protective cover, a kernel measuring cup, and a serving bowl. Inspect each part for any shipping damage before proceeding.
Refer to the parts diagram in this manual to familiarize yourself with each component’s location and function. Ensure the kettle is free from any residue. The measuring cup is crucial for optimal popping; do not substitute it with other measuring tools. The serving bowl is designed to conveniently receive the freshly popped corn.
If any parts are missing or damaged, do not operate the machine. Contact Nostalgia Products customer support immediately for assistance and replacement parts. Retain the original packaging for potential returns or warranty claims.
Safety Precautions
Read all instructions thoroughly before operating your Nostalgia Popcorn Maker. This appliance is intended for household use only. Never allow children to operate the machine unsupervised. Ensure users understand and follow all safety guidelines.
Caution: Surfaces become hot during operation. Avoid touching the kettle or other heated parts to prevent burns. Always use oven mitts or pot holders when handling hot components. Do not immerse the appliance in water or any other liquid.
Electrical Safety: Do not operate with a damaged cord or plug. If the appliance malfunctions, disconnect it immediately and contact customer support. Never attempt to repair the machine yourself. Ensure the appliance is properly grounded. A qualified person should perform any servicing.
Assembly Instructions
Follow these steps to correctly assemble your Nostalgia Popcorn Maker, ensuring a secure and functional setup for enjoyable, freshly popped movie-theater style popcorn.
Base Assembly
Begin by carefully unpacking all components from the box, ensuring you have all the parts listed in the component check section of this manual. Place the base unit on a stable, level surface. Locate the four legs – these typically screw into the designated holes on the underside of the base.
Hand-tighten each leg clockwise until secure, avoiding over-tightening which could potentially damage the plastic. Ensure all legs are firmly attached and the base sits evenly without wobbling. A stable base is crucial for safe operation.
Next, identify the wheel attachments (if included in your model). These usually clip or screw onto the bottom of the legs, allowing for easy portability. Confirm they are securely fastened before proceeding to the next assembly stage. Proper base assembly is fundamental for the popcorn maker’s stability and functionality.
Hopper and Kettle Installation
Carefully position the kettle onto the heating element within the base unit. Ensure it sits flush and securely, as proper contact is vital for efficient popping. Next, take the hopper – the clear, cone-shaped component – and align it over the kettle.
Gently lower the hopper until it clicks or locks into place, creating a sealed chamber for the popcorn to expand during the popping process. Verify the hopper is firmly attached to prevent accidental dislodging during operation.
Some models may have a securing screw or latch; if so, tighten it gently. Double-check that the kettle and hopper are correctly aligned and stable before adding kernels. Incorrect installation can lead to uneven heating or popcorn spillage.
Measuring Cup and Serving Bowl Attachment
Locate the provided kernel measuring cup; it’s crucial for accurate portioning, ensuring optimal popping results. Fill the cup to the designated line – typically marked for a specific yield, like 1/2 or 3/4 cup – and carefully pour the kernels into the hopper.
For models featuring an integrated serving bowl, after the popping cycle completes, carefully flip the entire unit. The kettle, now containing the popped corn, will invert into the serving bowl position.
Ensure a stable surface for flipping to prevent spills. Some units may require detaching the hopper first. Always allow the unit to cool slightly before handling. Enjoy your freshly popped popcorn directly from the convenient serving bowl!

Operating Your Popcorn Maker
Get ready for movie night! This section details powering on, kernel loading, and the step-by-step popping process for delicious, homemade popcorn enjoyment.
Powering On and Initial Setup
Before your first use, ensure the popcorn maker is placed on a stable, heat-resistant surface near a grounded electrical outlet. Carefully inspect the power cord for any damage; do not operate if damaged.
Plug the popcorn maker into the outlet. There’s typically no power switch; the unit activates when heat is applied. Initial setup involves a brief ‘burn-off’ period. Run the machine for one to two cycles without kernels.
This eliminates any manufacturing residue and ensures optimal performance. You may notice a slight odor during this initial burn-off – this is normal and will dissipate. Allow the unit to cool completely between cycles.
Always supervise the popcorn maker during operation. Never leave it unattended while plugged in or in use. Proper initial setup guarantees a safe and enjoyable popcorn-making experience!
Kernel Measurement and Loading
Accurate kernel measurement is crucial for optimal popping and preventing potential issues. Utilize the provided Kernel Measuring Cup – do not guess! Typically, one cup of kernels yields approximately 6-8 cups of popped popcorn, but this can vary.
Avoid overfilling the popping chamber; exceeding the recommended amount can lead to unpopped kernels and potential burning. Gently pour the measured kernels into the popping chamber, ensuring they are evenly distributed.
Do not add oil, butter, sugar, or any other seasonings directly into the popping chamber. These should be added after the popcorn has popped. Close the lid securely.
Ensure the lid is properly latched to contain the popping kernels. Improper loading can affect performance and safety. Always use fresh, high-quality popcorn kernels for the best results.
The Popping Process – Step-by-Step
Begin by ensuring the unit is plugged into a functioning electrical outlet. Power on the popcorn maker – some models require no preheating, while others may indicate readiness with a light. Listen for the initial popping sounds; this signifies the process has begun.
As popping intensifies, kernels will rapidly expand. Continue allowing the machine to operate until the popping slows down significantly – ideally, with 2-3 seconds between pops. This indicates most kernels have popped.
Immediately turn off the popcorn maker to prevent burning. Carefully tilt or remove the popping bowl to dispense the freshly popped popcorn into your serving bowl.
Be cautious of hot steam and popcorn. Enjoy your delicious, freshly popped treat!
Cleaning and Maintenance
Regular cleaning ensures optimal performance and longevity of your Nostalgia popcorn maker; always unplug and allow the unit to cool completely first.
Cooling Down and Disassembly
Before any cleaning, ensure the popcorn maker is completely cooled down. This is a crucial safety precaution to prevent burns. Unplug the unit from the electrical outlet and allow ample time for all components, especially the kettle, to reach room temperature.
Once cooled, carefully disassemble the popcorn maker. Typically, this involves removing the kettle, hopper, and any detachable serving components. Refer to the ‘Assembly Instructions’ section for a reverse process guide.
Handle the kettle with care, as residual heat may linger. Avoid forceful disassembly, as this could damage the components. Gently lift and detach each part, setting them aside for cleaning. Proper disassembly facilitates thorough cleaning and prevents buildup of popcorn residue.
Cleaning the Kettle and Components
To clean the kettle, use a damp, non-abrasive cloth or sponge. Avoid harsh detergents or scouring pads, as these can damage the non-stick coating. For stubborn residue, a mild dish soap solution can be used, followed by a thorough rinsing with clean water. Ensure no soap remains.
Wash the hopper, measuring cup, and serving bowl with warm, soapy water. These components are often dishwasher safe, but always check the product specifications first. Dry all parts completely before reassembling.
Wipe down the base of the popcorn maker with a damp cloth. Never immerse the base in water. Regular cleaning prevents popcorn buildup and ensures optimal performance and longevity of your appliance.
Storage Instructions
Before storing your Nostalgia Popcorn Maker, ensure it is completely cool and dry. Disassemble the components – kettle, hopper, measuring cup, and bowl – and clean them thoroughly as outlined in the cleaning section of this manual.
Store the base unit in a cool, dry place, away from direct sunlight and moisture. Avoid wrapping the power cord tightly, as this can damage the wiring. The removable components can be neatly stacked inside the base for compact storage, or stored separately in a cabinet.
Proper storage protects your popcorn maker from dust, damage, and ensures it’s ready for your next movie night!
Troubleshooting Common Issues
Facing problems? This section offers solutions for common issues like unpopped kernels or burnt popcorn, ensuring a perfect popping experience every time.
Popcorn Not Popping
Problem: If your popcorn isn’t popping, first ensure the unit is properly plugged in and receiving power. Verify you’re using fresh, dry popcorn kernels – old kernels lose moisture and won’t pop effectively.
Solution: Double-check the kernel measurement; using too few kernels may not generate enough heat. Conversely, overloading the popping chamber can hinder proper circulation. Confirm the measuring cup is being used correctly for accurate portions.
Also, inspect the kettle for any residue buildup that might be obstructing heat transfer. A clean kettle is crucial for optimal performance. Ensure the hopper is correctly installed, allowing kernels to flow freely into the popping chamber. Finally, allow sufficient popping time – some kernels require a bit longer to initiate the process.
Burned Popcorn
Problem: Experiencing burned popcorn indicates excessive heat or an extended popping cycle. This often happens when kernels remain in contact with the heating element for too long after popping has largely completed.
Solution: Immediately unplug the unit if you detect burning. Reduce the amount of kernels used per batch to prevent overcrowding and ensure adequate airflow. Pay close attention during the popping process and stop the machine promptly when popping slows to 2-3 seconds between pops.
Regularly clean the kettle to remove any accumulated residue, as burnt remnants can contribute to future burning. Ensure the hopper is functioning correctly, allowing kernels to flow smoothly and preventing buildup. Avoid leaving the popcorn maker unattended during operation.
Recipes and Flavoring Ideas
Get creative! Beyond classic butter, explore sweet and savory variations to elevate your popcorn experience with exciting, personalized flavor combinations.
Classic Buttered Popcorn
The Timeless Favorite: For a truly authentic popcorn experience, nothing beats the simplicity of classic buttered popcorn. Begin with a freshly popped batch using your Nostalgia Popcorn Maker, following the kernel measurement guidelines detailed earlier in this manual. While the popcorn is still warm, place it into a large bowl.
Melt approximately 4 tablespoons of butter – adjust to your preference – and drizzle it evenly over the popcorn. A gentle toss ensures every kernel receives a coating of golden goodness. For enhanced flavor, consider adding a pinch of salt immediately after buttering; this helps the salt adhere.
Some enthusiasts prefer clarified butter for a richer taste and to avoid soggy popcorn. Experiment with different types of salt, such as sea salt or flavored salts, to personalize your classic treat. Enjoy immediately for the ultimate in warm, buttery perfection!
Sweet and Savory Variations
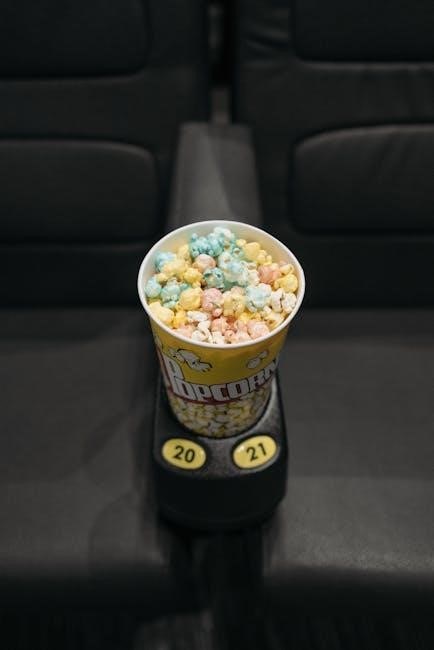
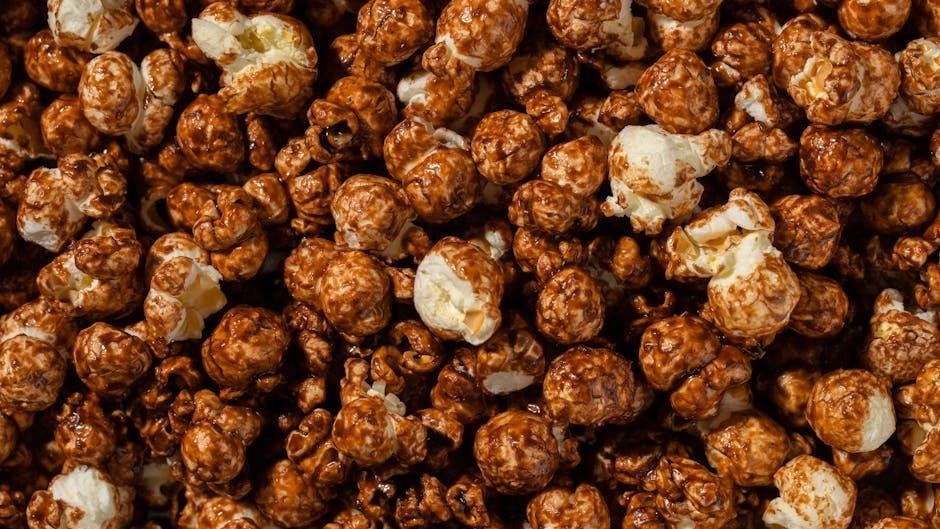
Beyond Butter: Unleash your culinary creativity with a world of popcorn flavor possibilities! For a sweet treat, drizzle melted chocolate – milk, dark, or white – over popped corn and sprinkle with colorful sprinkles or crushed candies. Caramel corn is another delightful option, requiring a homemade or store-bought caramel sauce.
Savory adventures await too! Experiment with seasoning blends like ranch, garlic parmesan, or chili lime. Nutritional yeast offers a cheesy flavor without dairy. For a bolder kick, try tossing popcorn with hot sauce or seasoned salts.
Don’t be afraid to combine flavors – sweet and spicy, or savory and cheesy. Remember to add seasonings while the popcorn is still warm for optimal adhesion. Have fun and discover your signature popcorn creation!