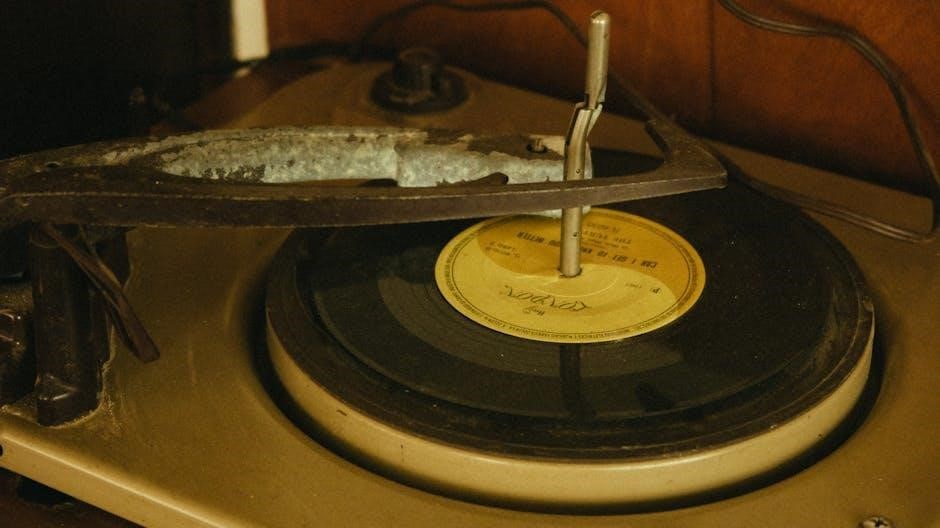
Crosley record players offer a nostalgic and accessible entry point into vinyl listening, blending vintage aesthetics with modern convenience for music enthusiasts.
These turntables, particularly the Cruiser model, are popular for their portability and ease of use, making them ideal for beginners and casual listeners.
However, understanding potential issues – like power failures or skipping – and knowing where to find resources is crucial for a smooth experience.
What is a Crosley Record Player?
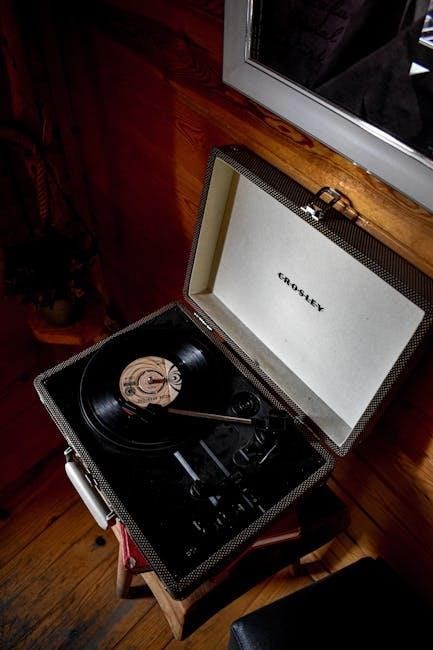
Crosley record players represent a unique blend of retro design and modern functionality, primarily aimed at introducing a new generation to the joys of vinyl. Often characterized by their suitcase-style portability and built-in speakers, these turntables offer an all-in-one listening solution. However, it’s important to understand that many Crosley models utilize a ceramic cartridge, which differs significantly from the higher-fidelity magnetic cartridges found in audiophile-grade turntables.
This design choice impacts sound quality and can contribute to issues like record skipping, especially with older or warped vinyl. While convenient, the internal components and simplified mechanics mean they often require a different approach to troubleshooting compared to traditional turntables. Understanding this foundational aspect is key to maximizing your Crosley experience and addressing potential problems effectively.
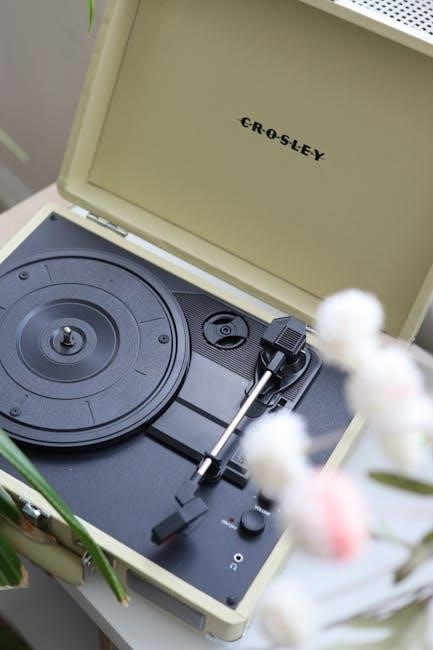
Popular Crosley Models
Crosley offers a diverse range of record players, but several models consistently stand out in popularity. The Cruiser Deluxe, with its classic suitcase design and built-in speakers, remains a best-seller, favored for its portability and aesthetic appeal. The Crosley C60 is another frequently chosen option, offering a more traditional turntable appearance and often featuring Bluetooth connectivity for versatile audio output.
Beyond these, the Keepsake and various limited-edition models cater to specific tastes. Notably, some newer Crosley turntables are beginning to incorporate magnetic cartridges, addressing a common criticism of earlier models. When seeking support or troubleshooting, identifying your specific model number is crucial for accessing relevant resources and guides.
Setting Up Your Crosley Record Player
Proper setup involves carefully unboxing components, connecting to a power source and audio output, and performing initial calibration for optimal sound quality.
Unboxing and Component Check
Carefully unpack your Crosley record player, ensuring all components are present. You should find the turntable itself, a power adapter, and potentially RCA cables for connecting to external speakers. Inspect the turntable for any visible shipping damage – note any scratches or dents immediately.
Verify the platter is securely attached, but easily removable for cleaning. Check the tonearm for proper movement and that the cartridge is firmly in place. Locate the volume control/power switch; familiarize yourself with its operation. Confirm the included accessories match the model’s documentation. Retain the packaging for potential returns or future transport. A thorough component check prevents issues later!
Connecting to Power and Audio Output
Plug the provided power adapter into the record player and then into a working electrical outlet. If using built-in speakers, ensure the volume is initially set to a low level. For external speakers, connect the RCA cables from the record player’s “Audio Out” ports to the corresponding inputs on your amplifier or powered speakers.
Double-check all connections are secure. If your audio system doesn’t activate, verify it’s powered on and set to the correct input source. Test the connection with a known working audio source. Remember, frayed cables can cause intermittent issues, so inspect them carefully. Proper connections are vital for sound!
Initial Setup and Calibration
Place the record player on a stable, level surface to prevent skipping. Gently remove the protective plastic clip from the tonearm. Carefully place a vinyl record onto the turntable platter. Power on the unit and use the volume control to activate the player – listen for the click.
If the player doesn’t power on, check the power connections and switch functionality. Initial calibration isn’t typically required for Crosley models, but ensure the tonearm moves freely. If skipping occurs, verify the record is clean and the surface is level. Explore YouTube tutorials for visual guidance on setup and basic operation.
Understanding Crosley Record Player Components
Key components include the platter, tonearm with its cartridge, and the volume control/power switch, all working together to play your favorite vinyl records.
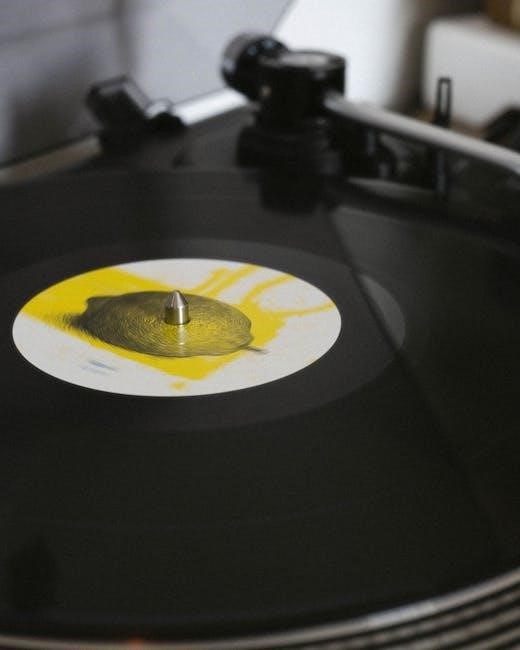
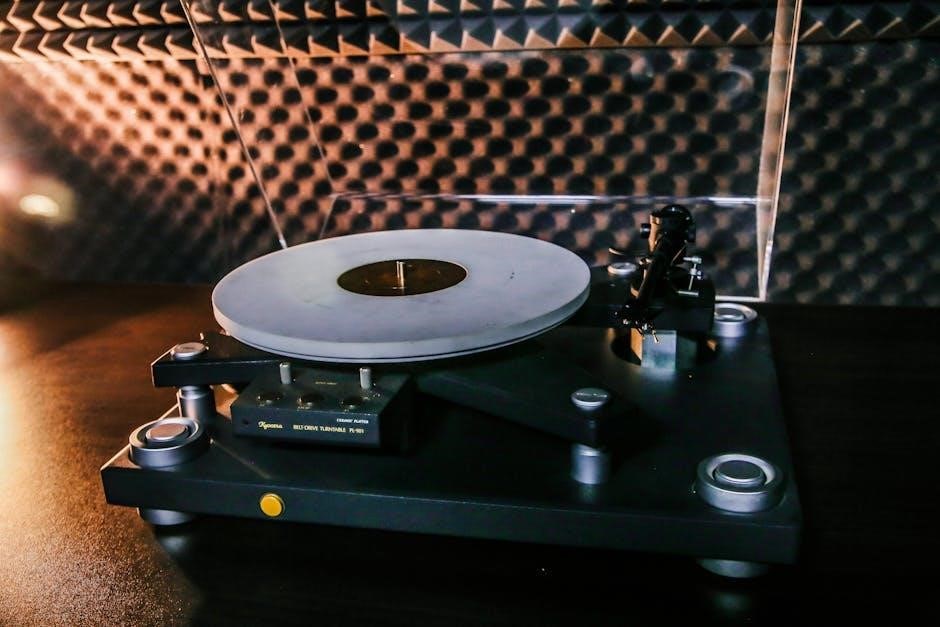
The Turntable Platter
The turntable platter is the circular platform upon which your vinyl records rest during playback. It’s designed to rotate at a consistent speed – typically 33 ⅓ or 45 RPM – ensuring accurate audio reproduction.
On Crosley record players, the platter often serves as a removable component, facilitating easy access for cleaning and maintenance. Ensuring the platter is clean and free of debris is vital for optimal record tracking and sound quality.
Proper alignment of the record on the platter is also crucial; centering the record ensures the tonearm follows the grooves correctly, preventing skipping or distortion. Regularly inspecting the platter’s surface for any damage or irregularities will contribute to a longer lifespan and consistent performance.
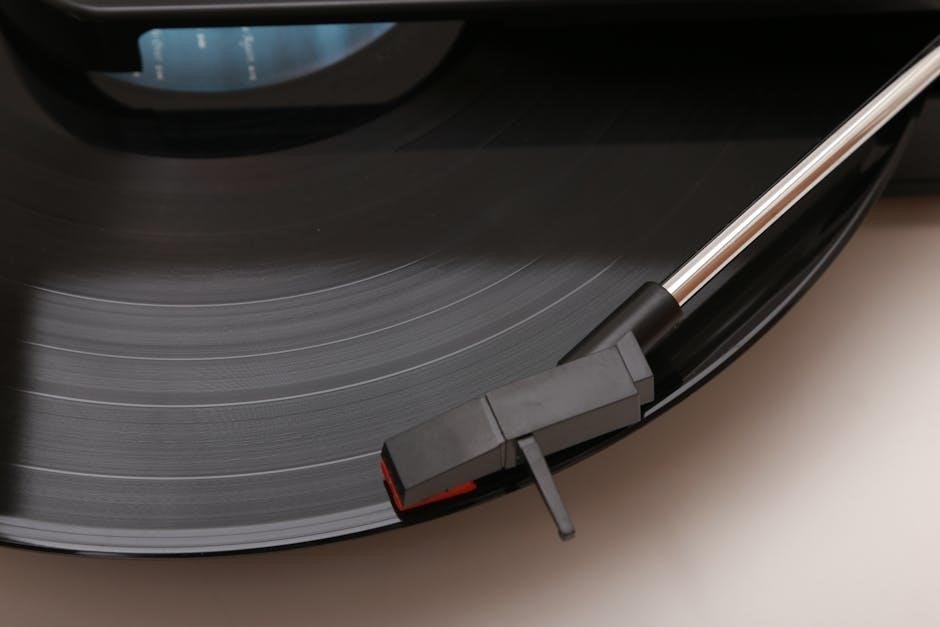
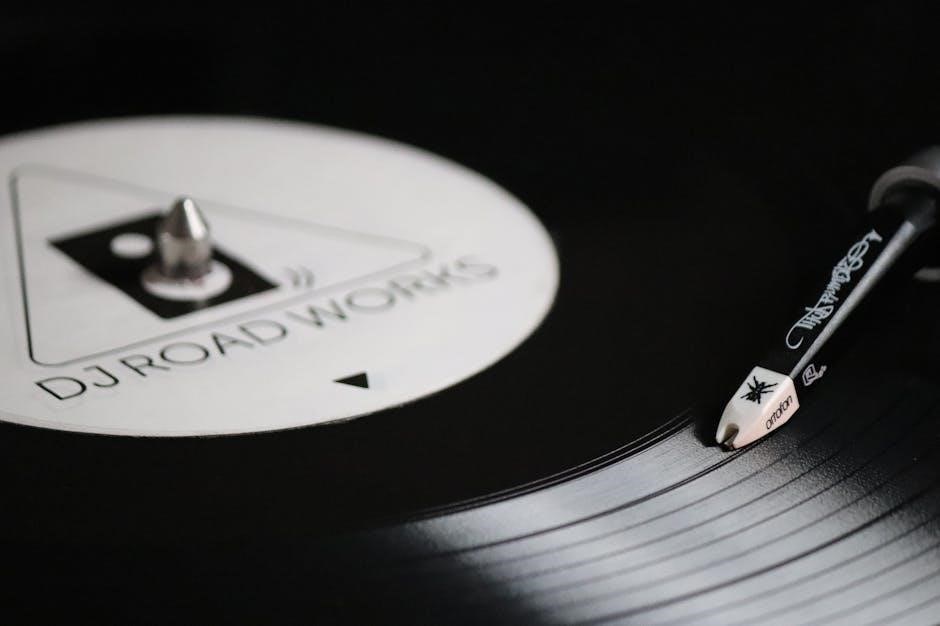
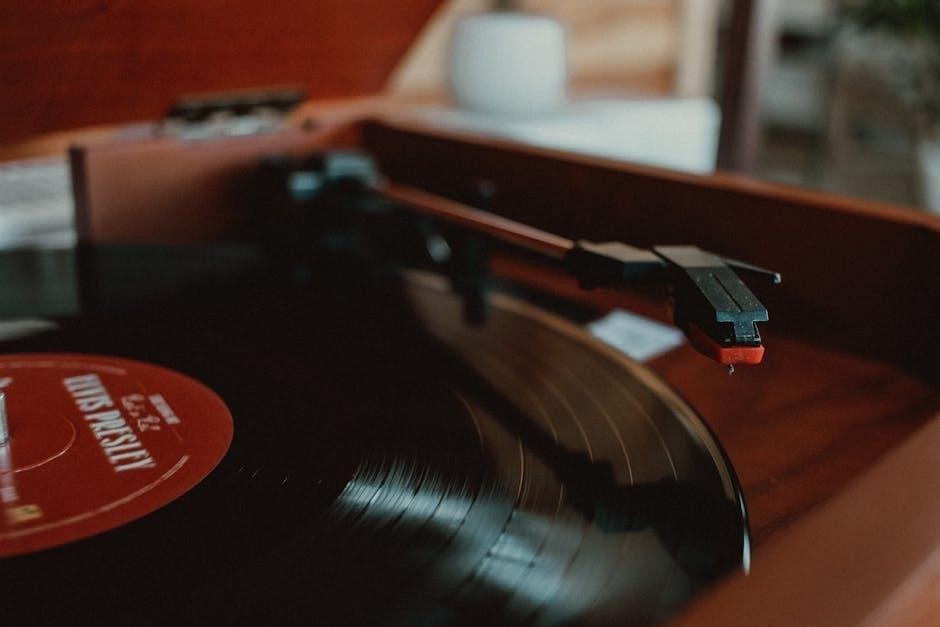
The Tonearm and Cartridge
The tonearm is the pivoting arm that holds the cartridge and stylus, tracing the grooves of the record. Its delicate balance and precise movement are essential for accurate sound retrieval. Crosley record players often feature a fixed tonearm, differing from more advanced models with adjustable tracking force.
The cartridge houses the stylus (needle), which vibrates as it follows the record’s grooves, converting these vibrations into an electrical signal. Many Crosley models utilize a ceramic cartridge, known for its affordability but potentially lower fidelity.
Upgrading to a magnetic cartridge is often recommended for improved sound quality, addressing common issues like skipping experienced with some Crosley turntables. Careful handling of both the tonearm and cartridge is vital to prevent damage and maintain optimal performance.
The Volume Control and Power Switch
The volume control on Crosley record players often functions as the combined power switch, typically a rotating knob. A distinct “click” sensation usually confirms activation, though this mechanism can sometimes fail, leading to the player appearing unresponsive. Troubleshooting often involves checking this switch for proper function.
If the switch feels loose or lacks the usual click, it may indicate a mechanical failure within the component itself. A common fix, according to user reports, involves bypassing the switch by soldering wires together, effectively creating a permanent “on” state.
However, this eliminates the switch’s functionality. Ensuring external audio systems are also powered on and correctly connected is crucial when addressing volume or power issues.
Troubleshooting Common Issues
Common problems include the record player failing to power on, records skipping during playback, or a complete lack of sound output from connected speakers.
Record Player Won’t Turn On
If your Crosley record player isn’t powering on, begin by verifying the power cable is securely connected to both the unit and a functioning electrical outlet. Next, if you’re utilizing an external speaker system or amplifier, ensure those components are also powered on and functioning correctly, as some systems require input to activate.
A crucial step is to carefully inspect the power cable and connectors for any visible damage, such as fraying or bent pins, which can interrupt the power supply. Furthermore, a common culprit is a faulty volume control switch; some users report the switch failing internally, requiring a simple solder repair by connecting wires directly.
Remember to test with a different outlet to rule out outlet issues, and double-check all connections before attempting more complex troubleshooting steps.
Skipping Records ― Identifying the Cause
Persistent record skipping on your Crosley often points to tracking force or cartridge issues. Many Crosley models utilize a ceramic cartridge, known for being less precise than magnetic cartridges. A quick fix is to ensure the record player is on a level surface, as vibrations can easily cause skipping.
However, a more permanent solution frequently involves upgrading to a turntable with a magnetic cartridge, offering superior tracking and reduced skipping. If upgrading isn’t immediate, check the tonearm balance and ensure it’s properly adjusted. Also, inspect the record itself for scratches or damage.
Consider that cheaper models are more prone to skipping; investing in a better turntable can significantly improve playback quality and reliability.
No Sound Output ― Speaker and Connection Checks
When your Crosley record player produces no sound, begin by verifying the functionality of your external speaker system or amplifier. Ensure these components are powered on and the volume is appropriately adjusted, as they may require an input signal to activate.
Thoroughly inspect all cables and connectors for any visible damage, such as fraying or loose connections. Damaged wires can cause intermittent or complete signal loss. Confirm the RCA cables are securely plugged into both the record player and the audio output device.
Finally, test with different cables to rule out a faulty cable as the source of the problem. A systematic check of these connections is vital for restoring audio.
Advanced Troubleshooting & Repairs
Addressing complex issues may involve repairing a faulty volume control switch or upgrading the cartridge to a magnetic version for improved performance.
Faulty Volume Control Switch ⏤ Repair Options
If your Crosley record player’s volume switch fails, often indicated by a lack of a “click” and no power light, a common solution involves directly connecting the wires. This bypasses the switch entirely, effectively setting the player to “on” permanently. A resourceful fix, detailed in online forums, suggests carefully removing one wire from the switch and soldering it to the remaining wire.
This creates a direct connection, restoring power. However, this eliminates the on/off functionality controlled by the volume knob. For those less comfortable with soldering, professional repair services are available, though potentially costly for a relatively inexpensive turntable. Consider the cost of repair versus replacement when making your decision, especially given the availability of newer models.
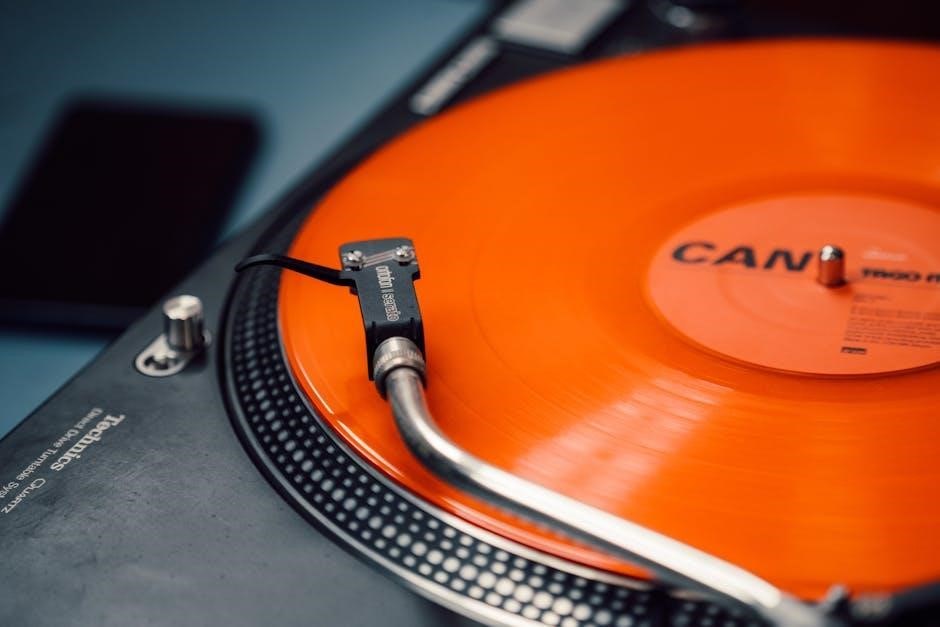
Cartridge Issues and Upgrades (Magnetic Cartridge Recommendation)
A frequent complaint with Crosley record players, particularly the Cruiser models, centers around skipping issues often stemming from the factory-installed ceramic cartridge. These cartridges are known for being lightweight and susceptible to vibrations, leading to inaccurate tracking and record skipping. A highly recommended upgrade is switching to a magnetic cartridge, offering significantly improved sound quality and tracking performance.
While requiring a compatible phono preamp (as magnetic cartridges produce a lower signal), the investment yields a substantial improvement in playback. Budget-friendly magnetic cartridges are available, providing a cost-effective solution to address skipping and enhance the overall listening experience. Consider this upgrade for a more reliable and enjoyable vinyl setup.
Cable and Connector Inspection for Damage
When troubleshooting a non-functional Crosley record player, a meticulous inspection of all cables and connectors is paramount. Frayed wires, loose connections, or damaged connectors can interrupt the power supply or audio signal, preventing the unit from operating correctly. Carefully examine the power cable for any visible signs of wear and tear, ensuring it’s securely plugged into both the record player and the wall outlet.
Similarly, check the RCA cables connecting to external speakers or an amplifier. Look for bent pins or corrosion. A simple re-seating of the cables can often resolve connection issues. Addressing damaged cables promptly is crucial for restoring functionality and preventing further complications.
Maintenance and Care
Regular cleaning of your Crosley record player and proper record storage are essential for optimal performance and longevity, preserving both the unit and your vinyl.
Cleaning Your Record Player
Maintaining a clean record player is vital for sound quality and longevity. Begin by disconnecting the power before any cleaning procedures. Gently dust the platter and exterior with a soft, dry cloth to remove loose particles. For more stubborn dust, slightly dampen the cloth – avoid using harsh chemicals or abrasive cleaners.
The tonearm should also be carefully dusted. Pay attention to the stylus; use a stylus brush, brushing back to front only, to remove dust without causing damage. Avoid applying excessive pressure. Regularly cleaning the player prevents dust buildup that can affect playback and potentially harm delicate components. A clean record player ensures a richer, clearer listening experience and extends the life of your beloved vinyl setup.
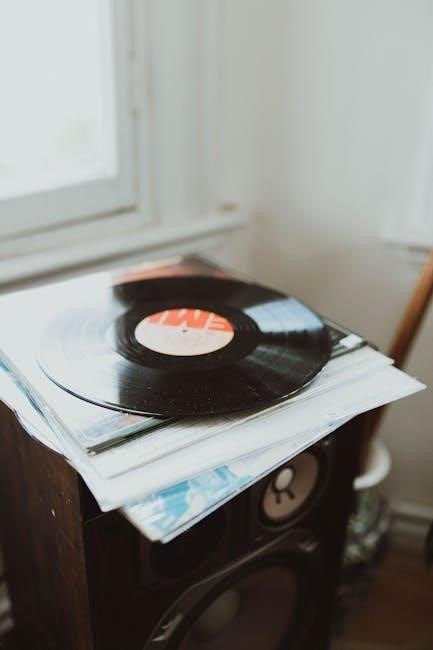
Record Care and Storage
Proper record care and storage are paramount for preserving your vinyl collection. Always handle records by the edges to avoid fingerprints, which attract dust. Clean records regularly with a carbon fiber brush before each play to remove surface dust. For deeper cleaning, use a dedicated vinyl record cleaning solution and microfiber cloth.
Store records vertically, never stacked, to prevent warping. Use inner sleeves to protect the vinyl surface from scratches and dust. Keep records in a cool, dry place away from direct sunlight and heat sources. Maintaining a clean and stable storage environment will significantly extend the lifespan and audio quality of your records, ensuring years of listening pleasure.
Resources and Further Help
For comprehensive support, visit the official Crosley website or explore helpful YouTube tutorials dedicated to Crosley record player setup and troubleshooting.
Crosley Official Website and Support
The Crosley Radio website serves as the primary hub for accessing official documentation, including digital manuals for various record player models. Navigating their support section allows users to download specific guides tailored to their turntable, offering detailed instructions on setup, operation, and basic troubleshooting steps.
Beyond downloadable manuals, Crosley provides a frequently asked questions (FAQ) section addressing common concerns. Direct customer support is also available through their website, typically offering assistance via email or contact forms. This allows users to submit specific queries and receive personalized guidance from Crosley’s technical team.
Furthermore, the website often features blog posts and articles covering record player maintenance, vinyl care, and tips for optimizing the listening experience. Regularly checking the official Crosley resources ensures access to the latest information and support materials.
YouTube Tutorials for Crosley Record Players
YouTube offers a wealth of user-generated content dedicated to Crosley record players, providing visual guides that complement official manuals. Numerous channels specialize in turntable setup, troubleshooting, and repair, often demonstrating solutions to common issues like skipping or power failures.
These video tutorials can be particularly helpful for visual learners, offering step-by-step instructions on component connection, cartridge adjustments, and basic maintenance procedures. Searching for specific model numbers alongside keywords like “setup” or “repair” yields targeted results.
Many creators also showcase advanced features and offer tips for improving sound quality. Playlists dedicated to Crosley turntables compile a range of helpful videos, creating a centralized resource for owners seeking guidance beyond the standard manual.