
Welcome! This guide unlocks the full potential of your new Keurig K-Mini brewer, offering a streamlined coffee experience.
Discover simple setup, brewing, and maintenance instructions for consistently delicious results.
The K-Mini is designed for convenience, delivering a fresh-brewed cup with minimal fuss. Explore its features and enjoy!
What’s in the Box?
Unboxing your Keurig K-Mini reveals a compact brewing system designed for single-serve convenience. You should find the K-Mini brewer itself, carefully packaged to ensure safe delivery. Included is this User Guide, providing step-by-step instructions for setup, operation, and maintenance.
Additionally, you’ll receive a removable water reservoir, essential for filling and brewing. Inspect the box to confirm the presence of these components. Any missing parts? Contact Keurig Customer Support immediately for assistance. Retain the packaging for potential future needs, like warranty claims or relocation.
Key Features of the K-Mini
The Keurig K-Mini boasts a remarkably slim design, perfect for small spaces like dorms or offices. Its single-serve capability brews one cup at a time, minimizing waste and maximizing freshness. Enjoy multiple brew sizes to customize your perfect cup.
The K-Mini is incredibly user-friendly, with simple button controls for effortless operation. It’s compatible with all K-Cup pods, offering a vast selection of beverages. Plus, the removable drip tray accommodates travel mugs, and the cord storage keeps your countertop tidy. Experience convenience and flavor!

Setting Up Your Keurig K-Mini
Prepare for brewing! Remove all packaging, extend the cord, and plug the K-Mini into a grounded outlet. Power on to begin setup.
Removing Packaging and Initial Setup
Begin with unboxing! Carefully remove your Keurig K-Mini from its packaging, ensuring all packing materials are detached. Locate and pull the plug to fully extend the power cord, which is neatly stored at the back of the brewer.
Before the first brew, it’s crucial to familiarize yourself with the brewer’s components. A quick visual inspection confirms everything is present and undamaged. Remove any tape remnants from the exterior. This initial setup prepares your K-Mini for optimal performance and ensures a clean, enjoyable brewing experience right from the start.
Plugging In and Powering On
Power up your K-Mini! Once unpacked, plug the brewer into a grounded electrical outlet. This ensures stable operation and safety. Press the power button to initiate the startup sequence. The indicator light will illuminate, signaling the brewer is receiving power and beginning to heat up.
Allow a few moments for the K-Mini to fully power on and reach brewing temperature. Avoid brewing immediately after plugging in. This initial heating phase is essential for optimal coffee extraction. The brewer is now ready for its first brew cycle – let’s get started!

Brewing Your First Cup
Let’s brew! Begin by filling the reservoir, inserting your favorite K-Cup pod, and selecting your desired brew size for a perfect, quick cup.
Filling the Water Reservoir
Essential First Step: Begin by carefully removing the water reservoir from the back of your Keurig K-Mini. Ensure the brewer is unplugged before handling the reservoir for safety. Fill the reservoir with fresh, filtered water to your desired level, but do not exceed the maximum fill line indicated.
Water Level Matters: Remember, the water level must be sufficient to brew; a minimum level is required for proper operation. Once filled, securely reattach the reservoir to the brewer, ensuring it clicks into place. Proper seating is crucial to prevent leaks during the brewing process.
Inserting a K-Cup Pod
Prepare for Brewing: Once the water reservoir is filled and correctly positioned, lift the K-Cup pod holder lid located on top of the brewer. Select your favorite K-Cup pod and carefully insert it into the holder, ensuring it sits securely.
Proper Alignment: Close the lid firmly; the brewer will automatically pierce the K-Cup pod. A secure closure is vital for optimal brewing and to prevent any potential messes. Avoid using damaged or empty K-Cup pods, as they may affect the brewing process.
Selecting Brew Size
Choose Your Cup: The Keurig K-Mini offers a single brew size option for a perfectly portioned cup of coffee. Before initiating the brew, ensure your mug is placed on the drip tray.
Simple Operation: The K-Mini automatically adjusts to the selected brew size. There are no buttons to press for size selection; it brews a standard 6-ounce cup. This streamlined design prioritizes simplicity and ease of use. Enjoy a consistently satisfying coffee experience with every brew!

Understanding the Controls
Simple & Intuitive: The K-Mini features a straightforward control panel with a single power button and brew button for effortless operation. Enjoy easy brewing!
Power Button Functionality
Initiating Operation: Pressing the power button activates your Keurig K-Mini. A brief press turns the brewer on, preparing it for operation. The indicator light illuminates, signaling readiness.
Automatic Shut-Off: For safety and energy conservation, the K-Mini features automatic shut-off. After brewing, the unit will automatically power down after a period of inactivity. This prevents overheating and saves energy.
Resetting the Brewer: If the brewer unexpectedly shuts down or malfunctions, pressing the power button again can often reset the system and restore functionality. Ensure the unit is properly plugged in before attempting a reset.
Brew Button Operation
Starting the Brew: Once a K-Cup pod is inserted and the water reservoir is filled, pressing the brew button initiates the brewing process. The K-Mini will begin heating the water and dispensing it through the pod.
Brew Size Selection: The brew button also controls brew size. A single press typically brews a smaller cup (6oz), while holding the button for three seconds brews a larger cup (8oz).
Mid-Brew Interruption: Pressing the brew button during brewing will stop the process. This allows for customized cup sizes or to address any brewing issues.

Maintenance and Cleaning
Keep it Fresh! Regular cleaning ensures optimal performance and the best-tasting coffee. Descale every three to six months, and clean needles frequently for a pristine brew.
Descaling Your Keurig K-Mini
Descaling is crucial! Mineral buildup can affect brew performance and coffee taste. To descale, empty the reservoir and add a descaling solution (or white vinegar).
Run a full brew cycle without a K-Cup pod. Repeat several times with fresh water to rinse thoroughly.
For detailed instructions and videos, visit keurig.com/descale. The water level must be at a minimum to brew during the descaling process.
Hold the power button for 3 seconds to initiate descaling mode, if applicable. Regular descaling maintains optimal brewing and extends your K-Mini’s lifespan.
Cleaning Entrance and Exit Needles
Prevent clogs! Regularly clean the entrance and exit needles for optimal brewing. Begin by turning off and unplugging your K-Mini. Carefully remove the K-Cup pod holder.
Use a paperclip or cleaning tool to gently clear any coffee grounds or debris from both needles.
Refer to support.keurig.com for helpful video instructions demonstrating the cleaning process. Ensure the needles are clear to allow for proper water flow. Consistent cleaning ensures a flavorful cup and prolongs the life of your brewer.
Exterior Cleaning Instructions
Keep it sparkling! To maintain your K-Mini’s appearance, wipe the exterior with a damp, soft cloth. Avoid abrasive cleaners, as they can damage the finish. Regularly clean the drip tray to prevent spills and stains. Ensure the brewer is turned off and unplugged before cleaning.
For stubborn stains, a mild dish soap solution can be used, followed by a clean water rinse. Dry thoroughly with a soft cloth. Consistent exterior cleaning keeps your K-Mini looking its best and ensures a hygienic brewing environment.

Troubleshooting Common Issues
Don’t panic! If your K-Mini isn’t working, check the power connection, water reservoir level, and K-Cup placement. Refer to keurig.com for support.
Brewer Not Powering On
Is your Keurig K-Mini refusing to turn on? First, ensure the brewer is securely plugged into a functioning grounded electrical outlet. Verify the outlet is providing power by testing it with another device.
Next, double-check that the power cord is fully extended from its storage compartment at the back of the unit. Sometimes, a partially retracted cord can prevent proper connection. If the issue persists, try a different outlet to rule out a potential electrical problem.
Finally, briefly press the power button to confirm it’s responding; a lack of response may indicate a more serious issue requiring customer support.
Water Not Dispensing
Experiencing issues with water flow from your Keurig K-Mini? Begin by confirming the water reservoir is filled to at least the minimum fill line, as the brewer won’t operate with insufficient water. Ensure the reservoir is properly seated and securely attached to the brewer.
Next, check for any visible blockages in the water reservoir or the entrance needle. Descaling the brewer regularly, as outlined in the maintenance section, can prevent mineral buildup that restricts water flow.
If problems continue, consult Keurig’s support website for further troubleshooting steps.
K-Cup Pod Issues
Encountering problems with your K-Cup pod during brewing? First, verify the pod is correctly inserted into the K-Cup pod holder, ensuring it’s fully seated. Confirm you are using a K-Cup pod specifically designed for Keurig brewers.
If the brewer struggles to pierce the pod, examine the entrance needle for any obstructions or damage. Regularly cleaning both the entrance and exit needles, as detailed in the maintenance section, is crucial.
Avoid using foil-sealed pods not intended for Keurig brewers.
Safety Precautions
Always prioritize safety! Avoid electrical hazards by ensuring a grounded outlet is used. Be cautious of hot water and steam during and after brewing to prevent burns.
Electrical Safety
Crucially, operate your Keurig K-Mini only with a properly grounded electrical outlet. Never use an extension cord unless absolutely necessary, and if so, ensure it’s rated for the brewer’s wattage. Regularly inspect the power cord for any damage – cracks, fraying, or exposed wires – and discontinue use immediately if any are found.
Avoid operating the brewer with wet hands or in a damp environment. Do not immerse the appliance in water or any other liquid. If the brewer malfunctions or the cord is damaged, unplug it from the outlet before seeking repair from an authorized service center. Attempting self-repair could pose a significant electrical hazard.
Hot Water Warnings
Caution! The Keurig K-Mini dispenses extremely hot water during brewing. Avoid touching any hot surfaces, including the exit needle and surrounding areas, to prevent burns. Keep children and pets away from the brewer during operation and immediately after, as these components remain hot for a considerable time.
Never open the brewer’s lid during the brewing cycle. Be mindful of escaping steam, which can also cause burns. If hot water spills, immediately clean it up to prevent slips and falls. Allow the brewer to cool completely before cleaning or storing it. Prioritize safety when handling hot liquids.

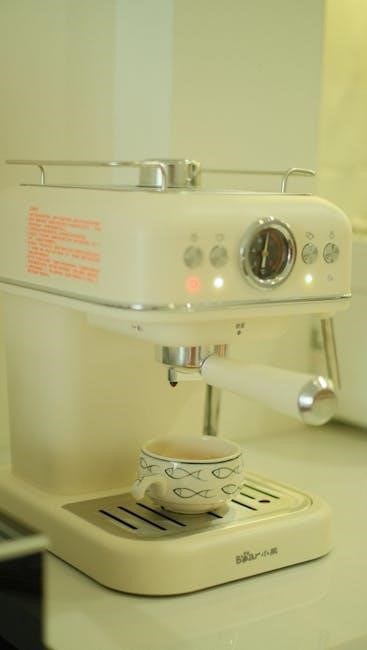
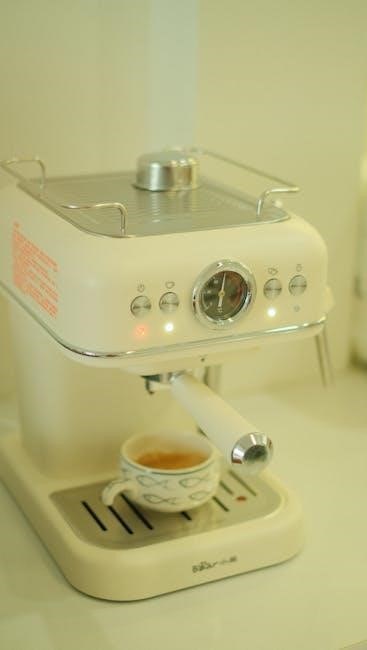
Parts Diagram
Explore the K-Mini! Refer to the diagram to identify key components like the water reservoir, K-Cup holder, and entrance/exit needles for easy maintenance.
Identifying Key Components
Let’s familiarize ourselves with your Keurig K-Mini! The Water Reservoir (A) is where you’ll add fresh water for brewing. The K-Cup Pod Holder (B) securely holds your chosen K-Cup during the brewing process. Notice the Entrance Needle (C) which pierces the top of the K-Cup, and the Exit Needle (D) where the brewed coffee flows from.
The Power Button (E) controls the brewer’s on/off function. The Brew Button (F) initiates the brewing cycle. Component (G) represents the drip tray, while (H) indicates the exterior housing. Understanding these parts will simplify operation and maintenance, ensuring a delightful brewing experience every time!

Warranty Information
Keurig offers a warranty protecting against defects in materials and workmanship. Visit Keurig’s website for specific details, terms, and registration instructions to activate coverage.
Keurig Warranty Details
Your Keurig K-Mini is covered by a one-year limited warranty against defects in materials and workmanship from the date of purchase. This warranty covers the brewer itself, but does not include damage resulting from misuse, accidents, or unauthorized repairs.
To make a warranty claim, you’ll need proof of purchase and should contact Keurig Customer Support. They will guide you through the process, which may involve troubleshooting steps or returning the brewer for inspection.
The warranty does not cover normal wear and tear, or issues caused by using improper water quality or descaling solutions. Retain your purchase receipt for warranty service!
Resources and Support
Need help? Visit Keurig’s website for FAQs, troubleshooting, and video tutorials. Contact their customer support team for personalized assistance with your K-Mini.
Keurig Website and FAQs
Explore the Keurig website (keurig.com) for a wealth of information designed to enhance your brewing experience. You’ll find a dedicated support section with frequently asked questions (FAQs) addressing common concerns about your K-Mini brewer.
These FAQs cover topics ranging from initial setup and brewing techniques to cleaning and descaling procedures. Additionally, the website provides access to downloadable user manuals and helpful troubleshooting guides.
For descaling instructions, specifically, visit keurig.com/descale. The site also features video tutorials demonstrating proper cleaning of entrance and exit needles, ensuring optimal performance and flavor. Keurig’s online resources are a valuable first step in resolving any issues you may encounter.
Contacting Keurig Customer Support
Need further assistance? Keurig offers dedicated customer support to address any questions or concerns beyond the self-service resources available online. While specific contact methods may vary, the Keurig website (keurig.com) provides the most up-to-date information on reaching a support representative.
Typically, options include phone support, email correspondence, and live chat functionality. Be prepared to provide your brewer’s model number (K-Mini) and purchase date when contacting support.
For efficient assistance, it’s helpful to have your brewer readily available and a clear description of the issue you’re experiencing. Keurig’s support team is committed to ensuring your satisfaction.